
The Christmas before COVID hit I was given a succulent in a bell jar because I had requested a “leafy green plant” for my office Christmas secret Santa gift.
The succulent died shortly after I got it, but not before it was poached by a co-worker who assumed that I had abandoned my plant.
I had to ask around about my missing plant before she finally confessed to taking it home.
She gave it back in the end because I asked her to, but not before she asked me in stilted tones, “do you even want it?”
Guess I can’t really blame her for trying to save my poor succulent.
She eventually returned it, and sadly it died shortly after.
What do I know about how to care for plants?
Most of my plants die on me, save a few hardy varietals.
I used to get really gutted when they died and felt like a horrible plant owner, but nowadays I just shrug my shoulders and say “C’est La Vie, I’ll buy another one from Cold Storage Jelita.”
Anyways, all that to say, the bell jar outlived the succulent and was taking up space in my small HDB apartment.
I was very tempted to toss it out as I like a clean and uncluttered space.
It’s hard for me to toss things that are actually working fine, even if they may not be useful to me. That’s the Asian in me. “Waste not, want not” my mother’s voice echoes in my head as my hand holding the bell jar hovers over the bin, and I am compelled to sequester the bell jar away in my cabinet with all the other Knick-knacks I have yet to put to good use.
Good old Asian guilt.
Thankfully, my friend Xiuping (AuntyTwo.com) who has been making crepe paper flowers for a while now got a rather interesting craft book – “Uncommon Paper Flowers – Extraordinary Botanicals and how to craft them” for making more unusual plants.
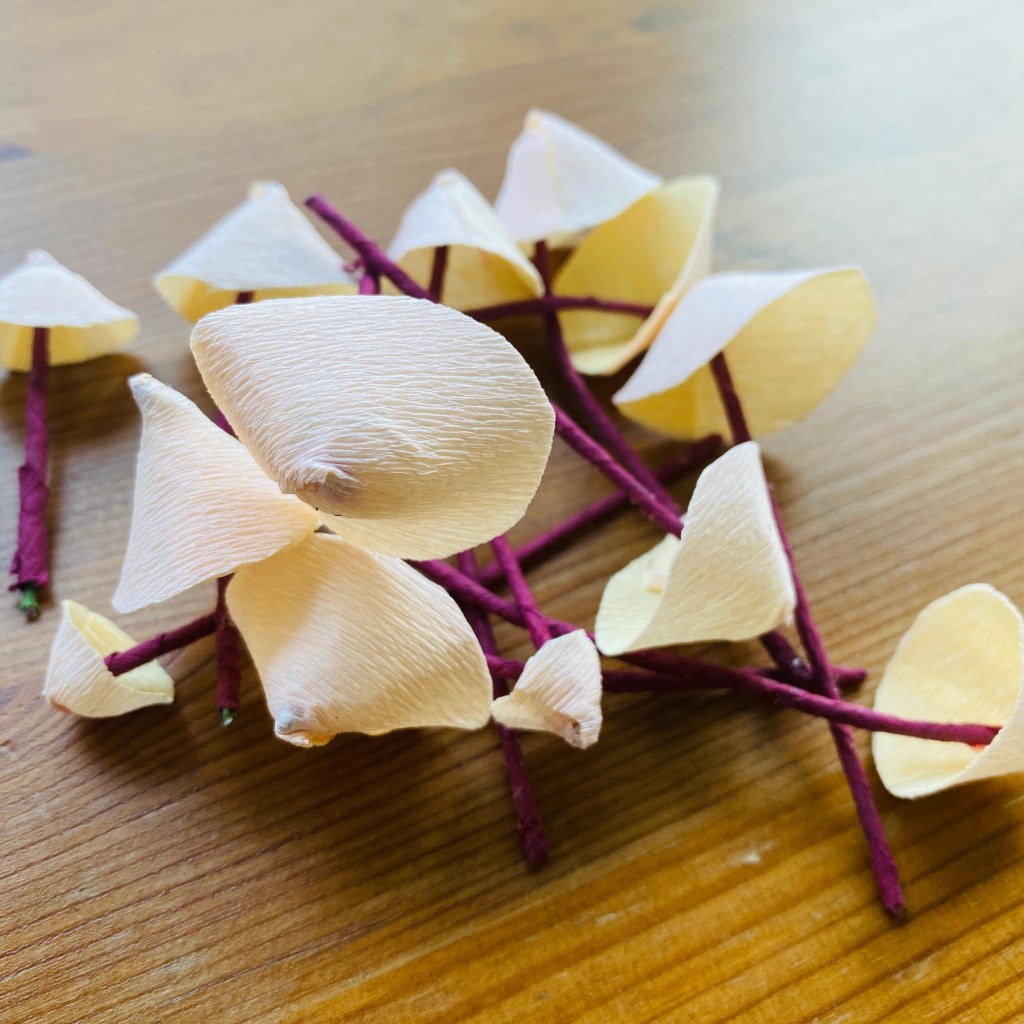
We chose an easy mushroom to make, it’s called the “Bleeding Mycenae” so called because the sap looks like blood.
I decided that it would be a good use of my bell jar to house the mushrooms, and got down to making a cute little mushroom patch bell jar for the heck of it.
Here’s a step by step guide for how I created my mushroom moss patch.
Raw Materials:
1. Bell Jar (From IKEA)
2. Bleeding Myecenae Paper Mushrooms (refer to the book “Uncommon Flowers by Kate Alarcon and Alice Gao” for instructions on how to make these paper mushrooms)
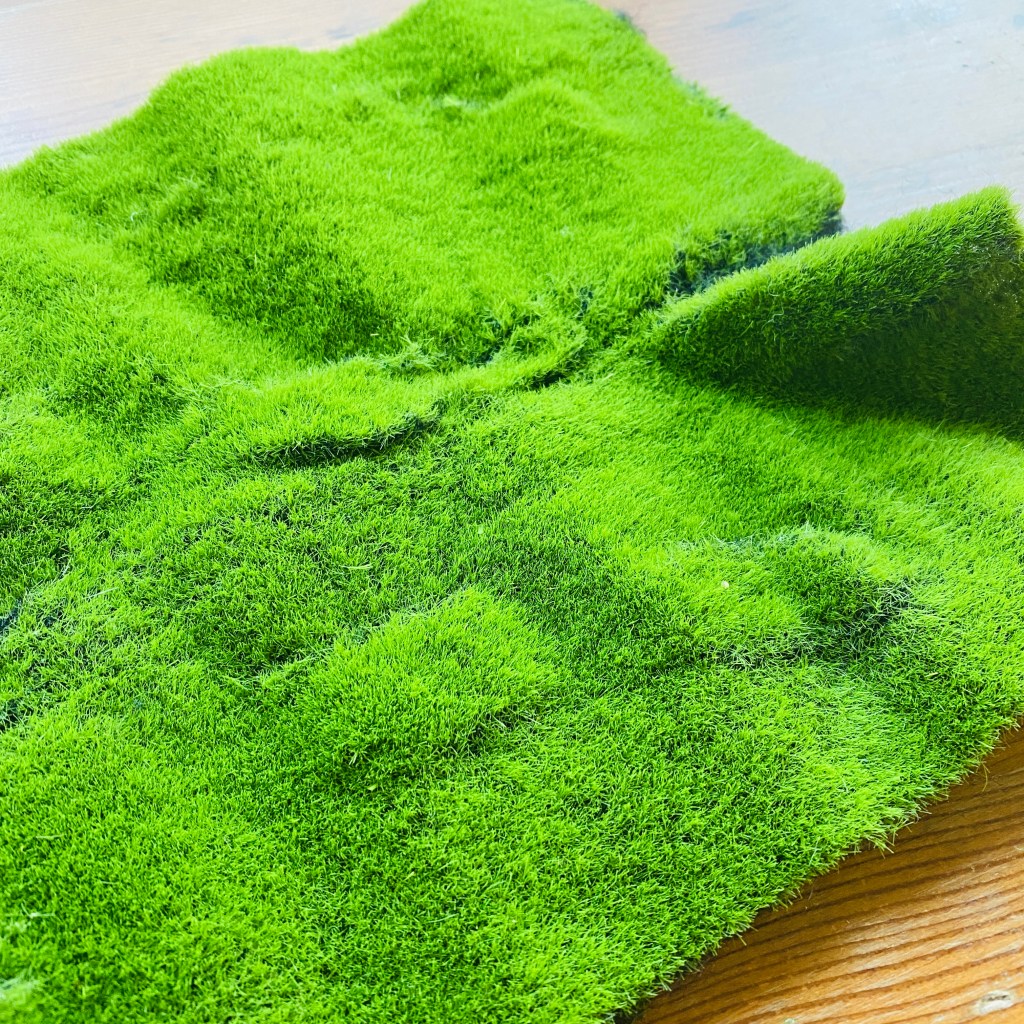
3. Synthetic Moss (I bought this from Spotlight@Plaza Singapura)
4. Cone shaped styrofoam (for the base of the moss patch)

Tools:
1. X-Acto Knife

2. UHU Glue

Here are close ups of the individual raw materials:

Instructions:
1. Cut the styrofoam cone to a height that is suitable for a mushroom patch stump.
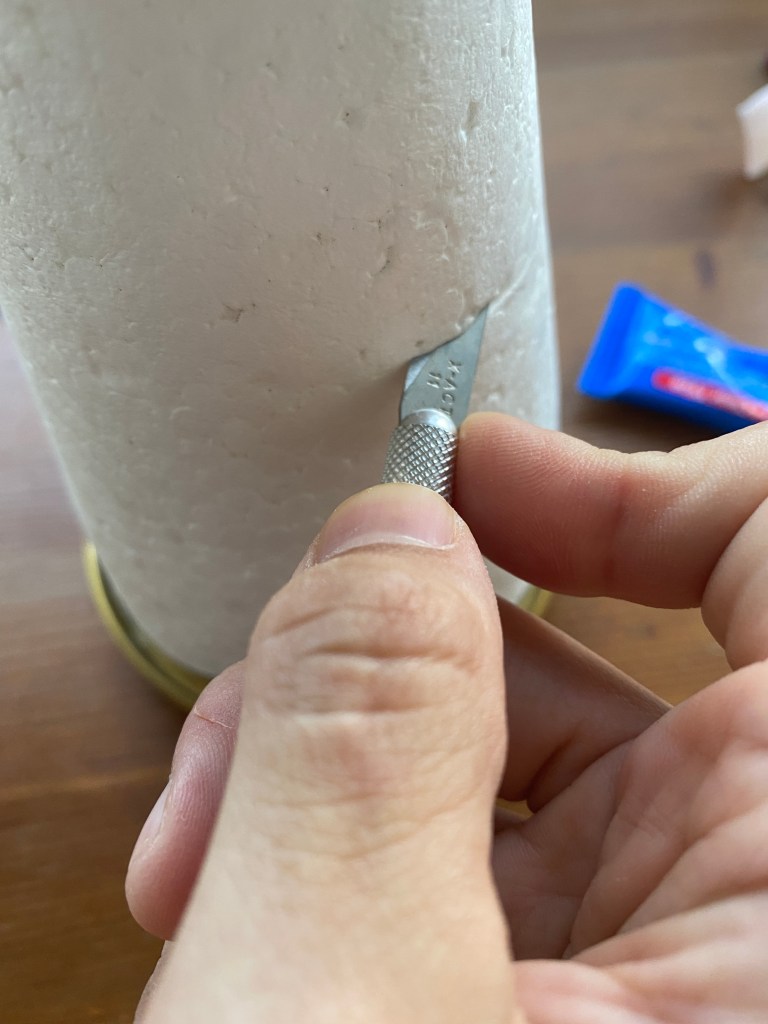
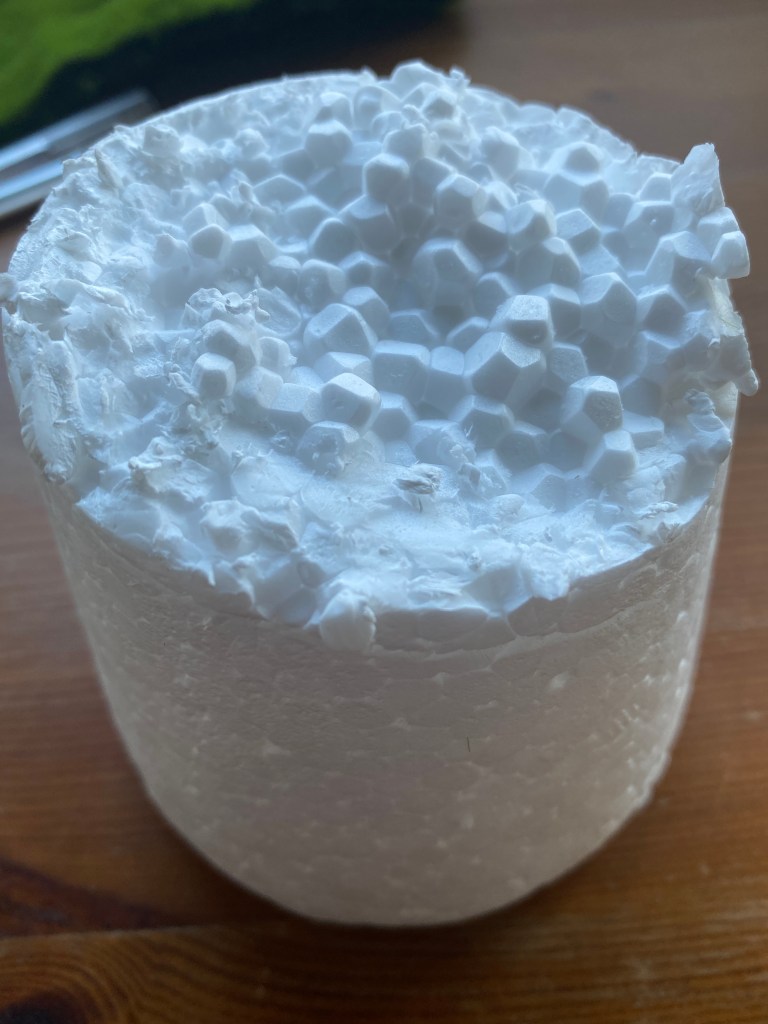
2. Trim down the edges of the stump so that it can fit into the base of the Bell-jar
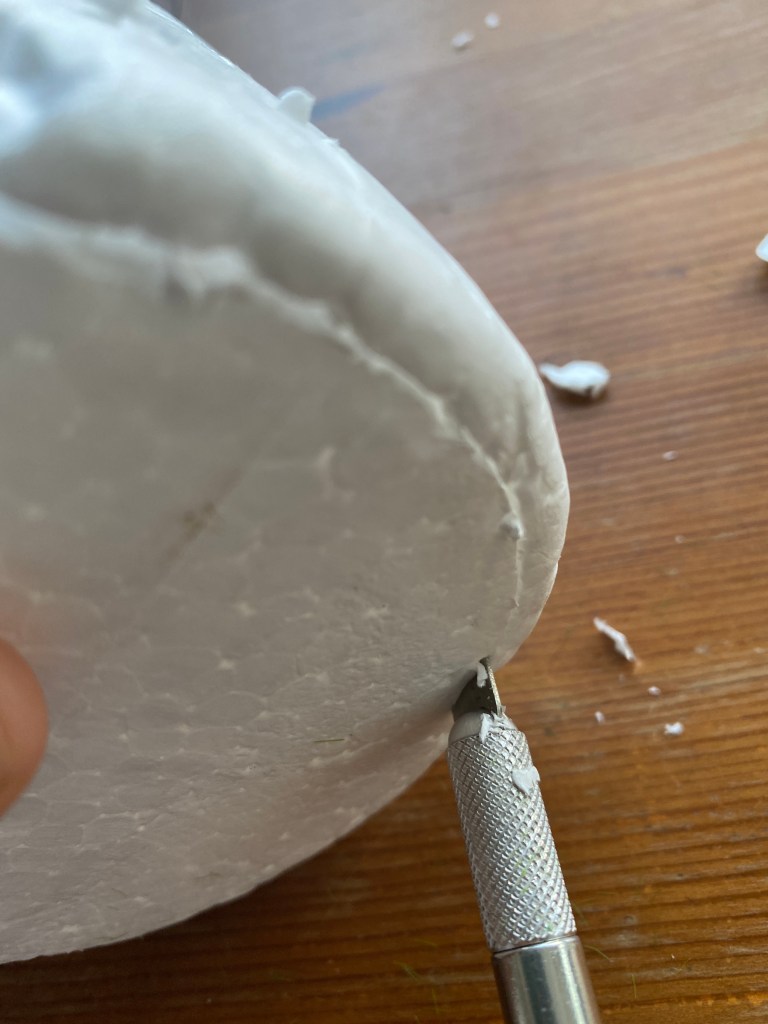

3. Trim it down on the edges a-bit more so as to make room for the synthetic moss patch to be attached.

4. Apply glue all around the stump and then wrap the synthetic moss over it. Trim off excess synthetic moss.
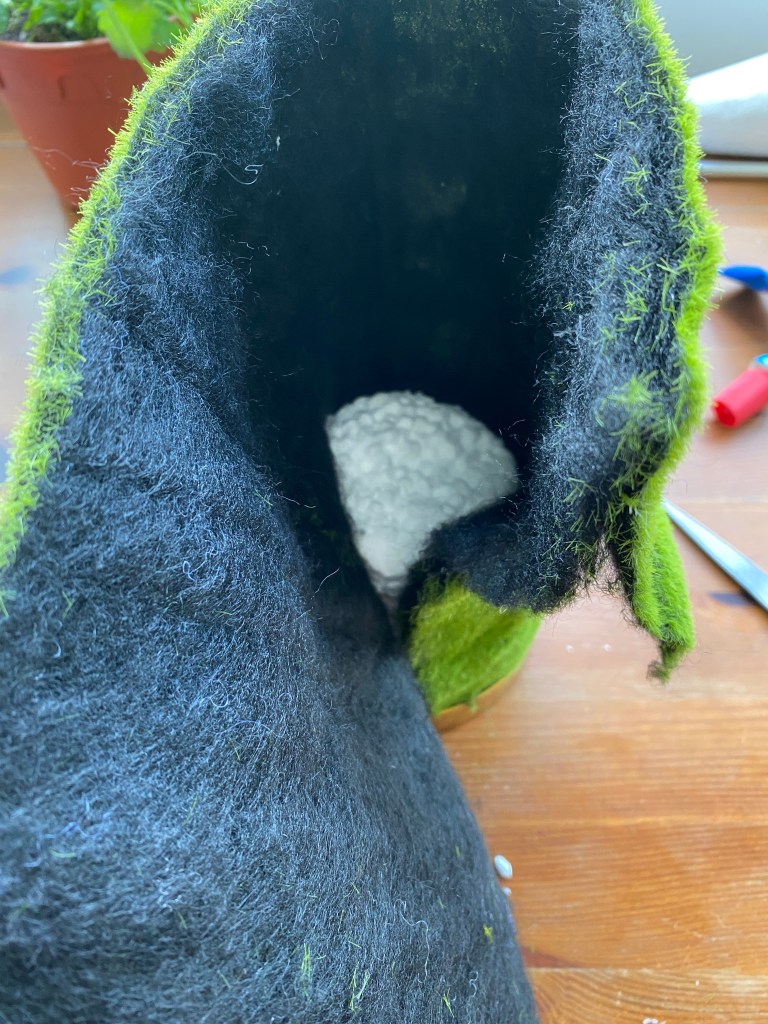
5. Glue down loose parts of the moss patch with extra glue

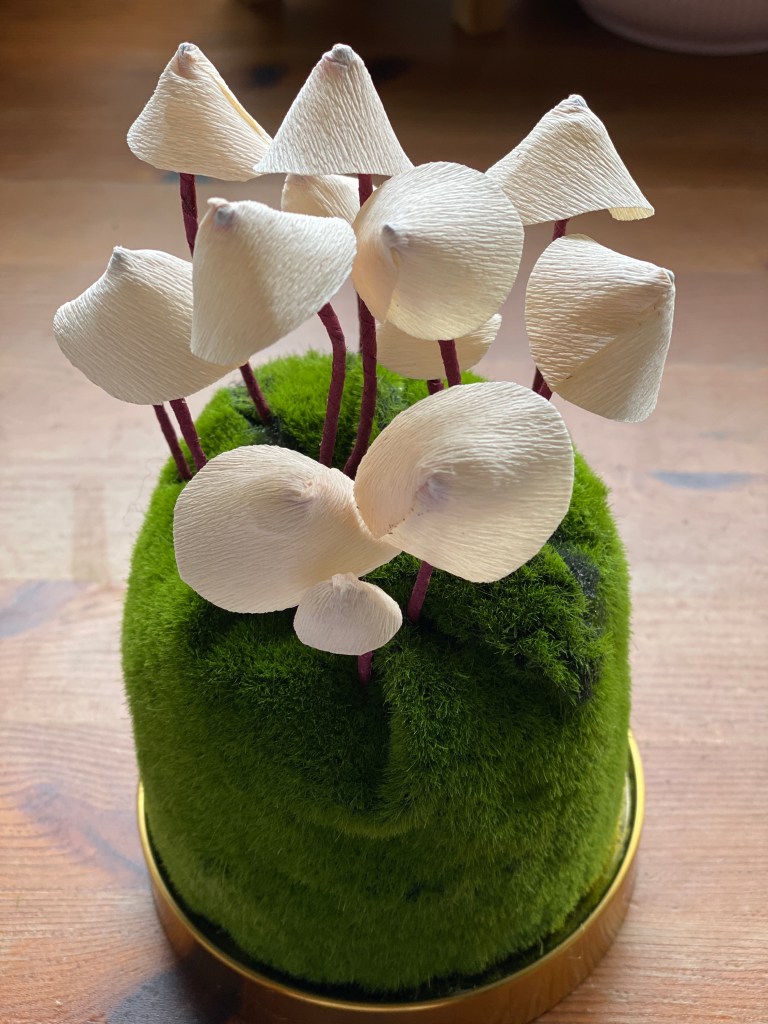
6. Cut slits in the moss patch and affix the base of the mushroom stems into these slits. They should sit securely within these slits.

7. Adjust till the 3D aesthetic arrangement pleases you

8. Take a moment to admire your work-of-art.
9. Peer intently and meditatively … isn’t it beautiful?

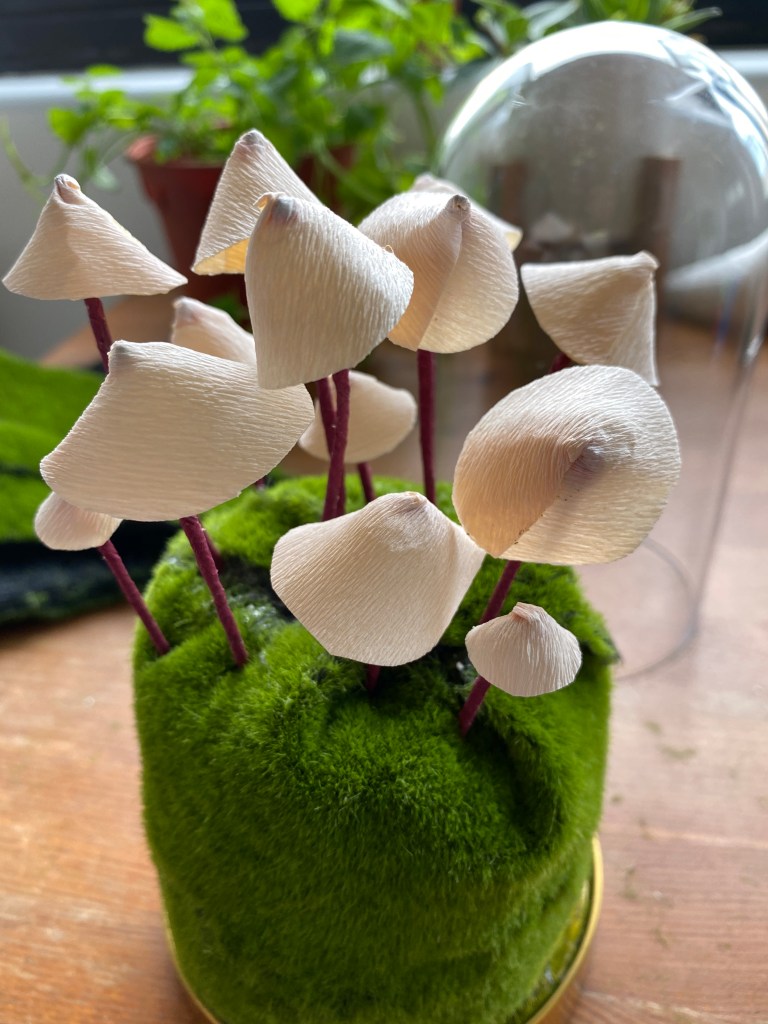
10. All done!


Leave a comment